Auth0 is a great tool and SaaS platform for identity and user’s management. Let’s discuss how to integrate it in our application.
When implementing authentication into a web application using a framework such as React, there might be some confusion about what, where and who is performing authentication.
Checking authorization to access our API’s, specially when you are integrating social Identity Providers and their API’s such as Google and Google Calendar, can be often cumbersome.
Two things I personally found confusing are:
- Configuring Authentication with Auth0
- Using the integration with
Social IdPs to access their API’s
How should I fetch the Google Calendar data? How do I check authorisation?
Well the answer is way more simple than I was thinking but…we learn by doing!
First things first: Difference between Authentication and Authorization
They sound similar, they are pretty confusing, especially for non English speakers but:
- Authentication is what we do at login time
- Authorization is the possibility to access resources (most of the times API’s)
You are authenticating when you are showing the login screen,
You are authorizing when: you perform API calls and your backend checks the ID (mostly a JWT), allowing the use of the API (GET, POST, PUT, DELETE or whatever) because you are authorisedto get this data.
Create an Auth0 account, a tenant and an application
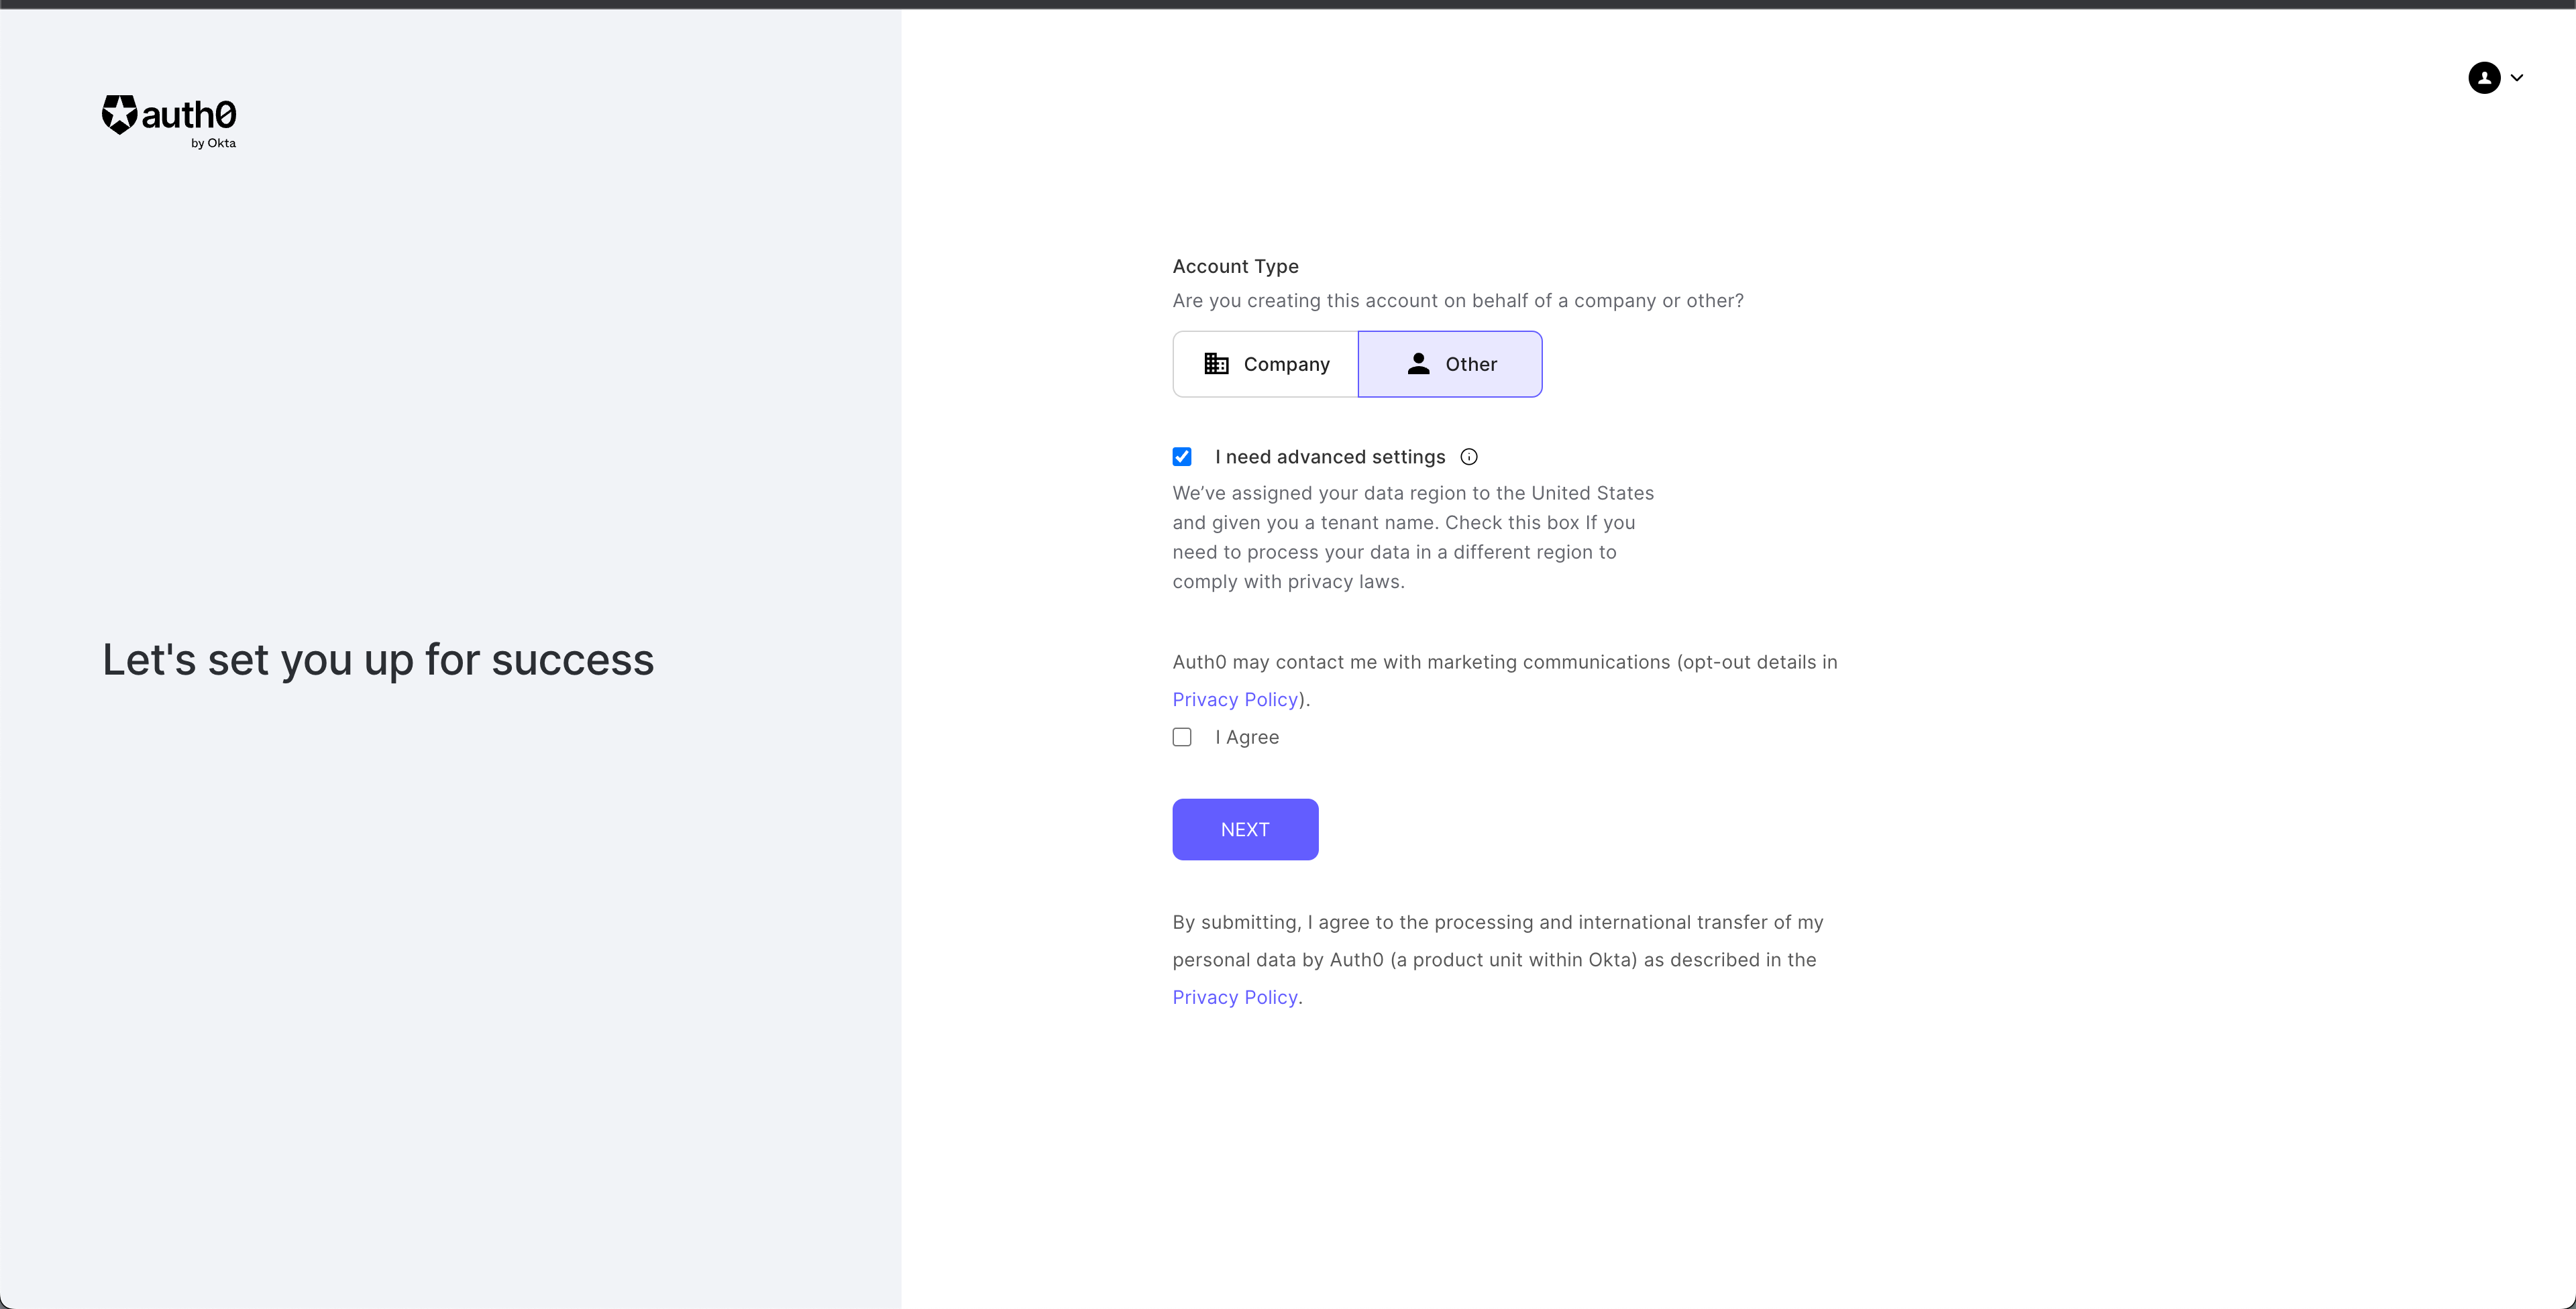
1. Creating an Auth0 account
It is pretty easy: use a social login or create an account following a classic sign up flow.
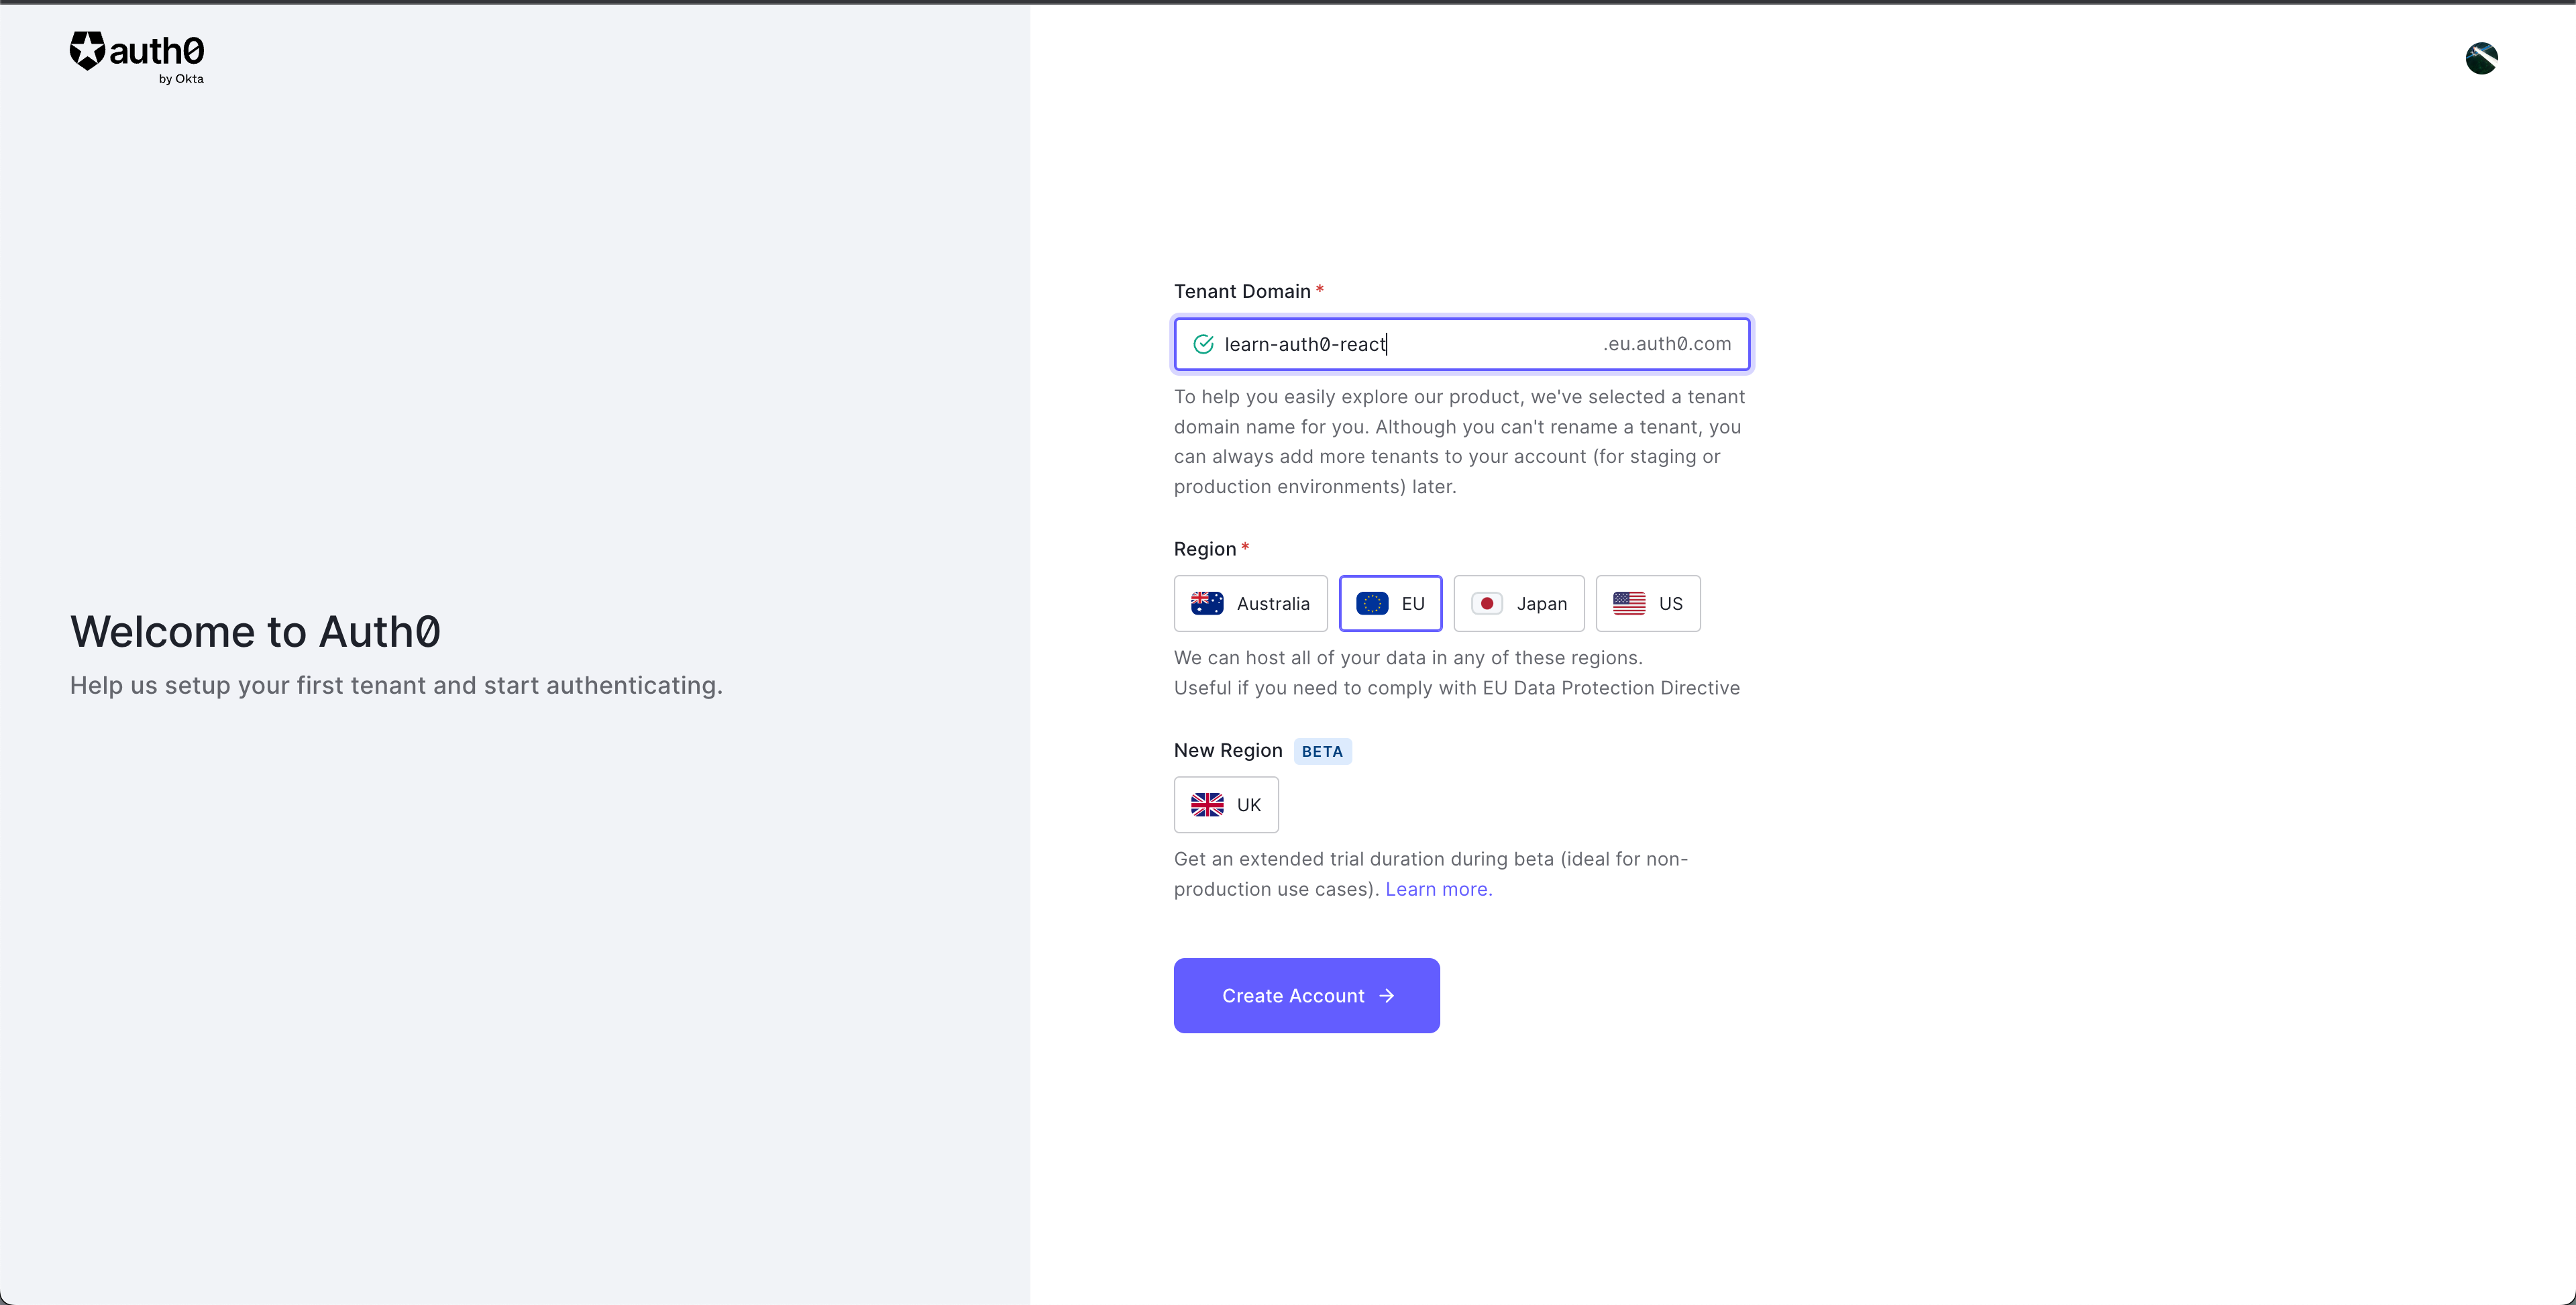
2. Creating a tenant
Once we have logged in with our IdP, we need to select the checkbox I need advanced settings
This to be guided through the creation of a tenant and the selection of our region, to allow for best latency, considering where our users mostly will be based. I selected EU and gave my tenant a more meaningful name: learn-auth0-react
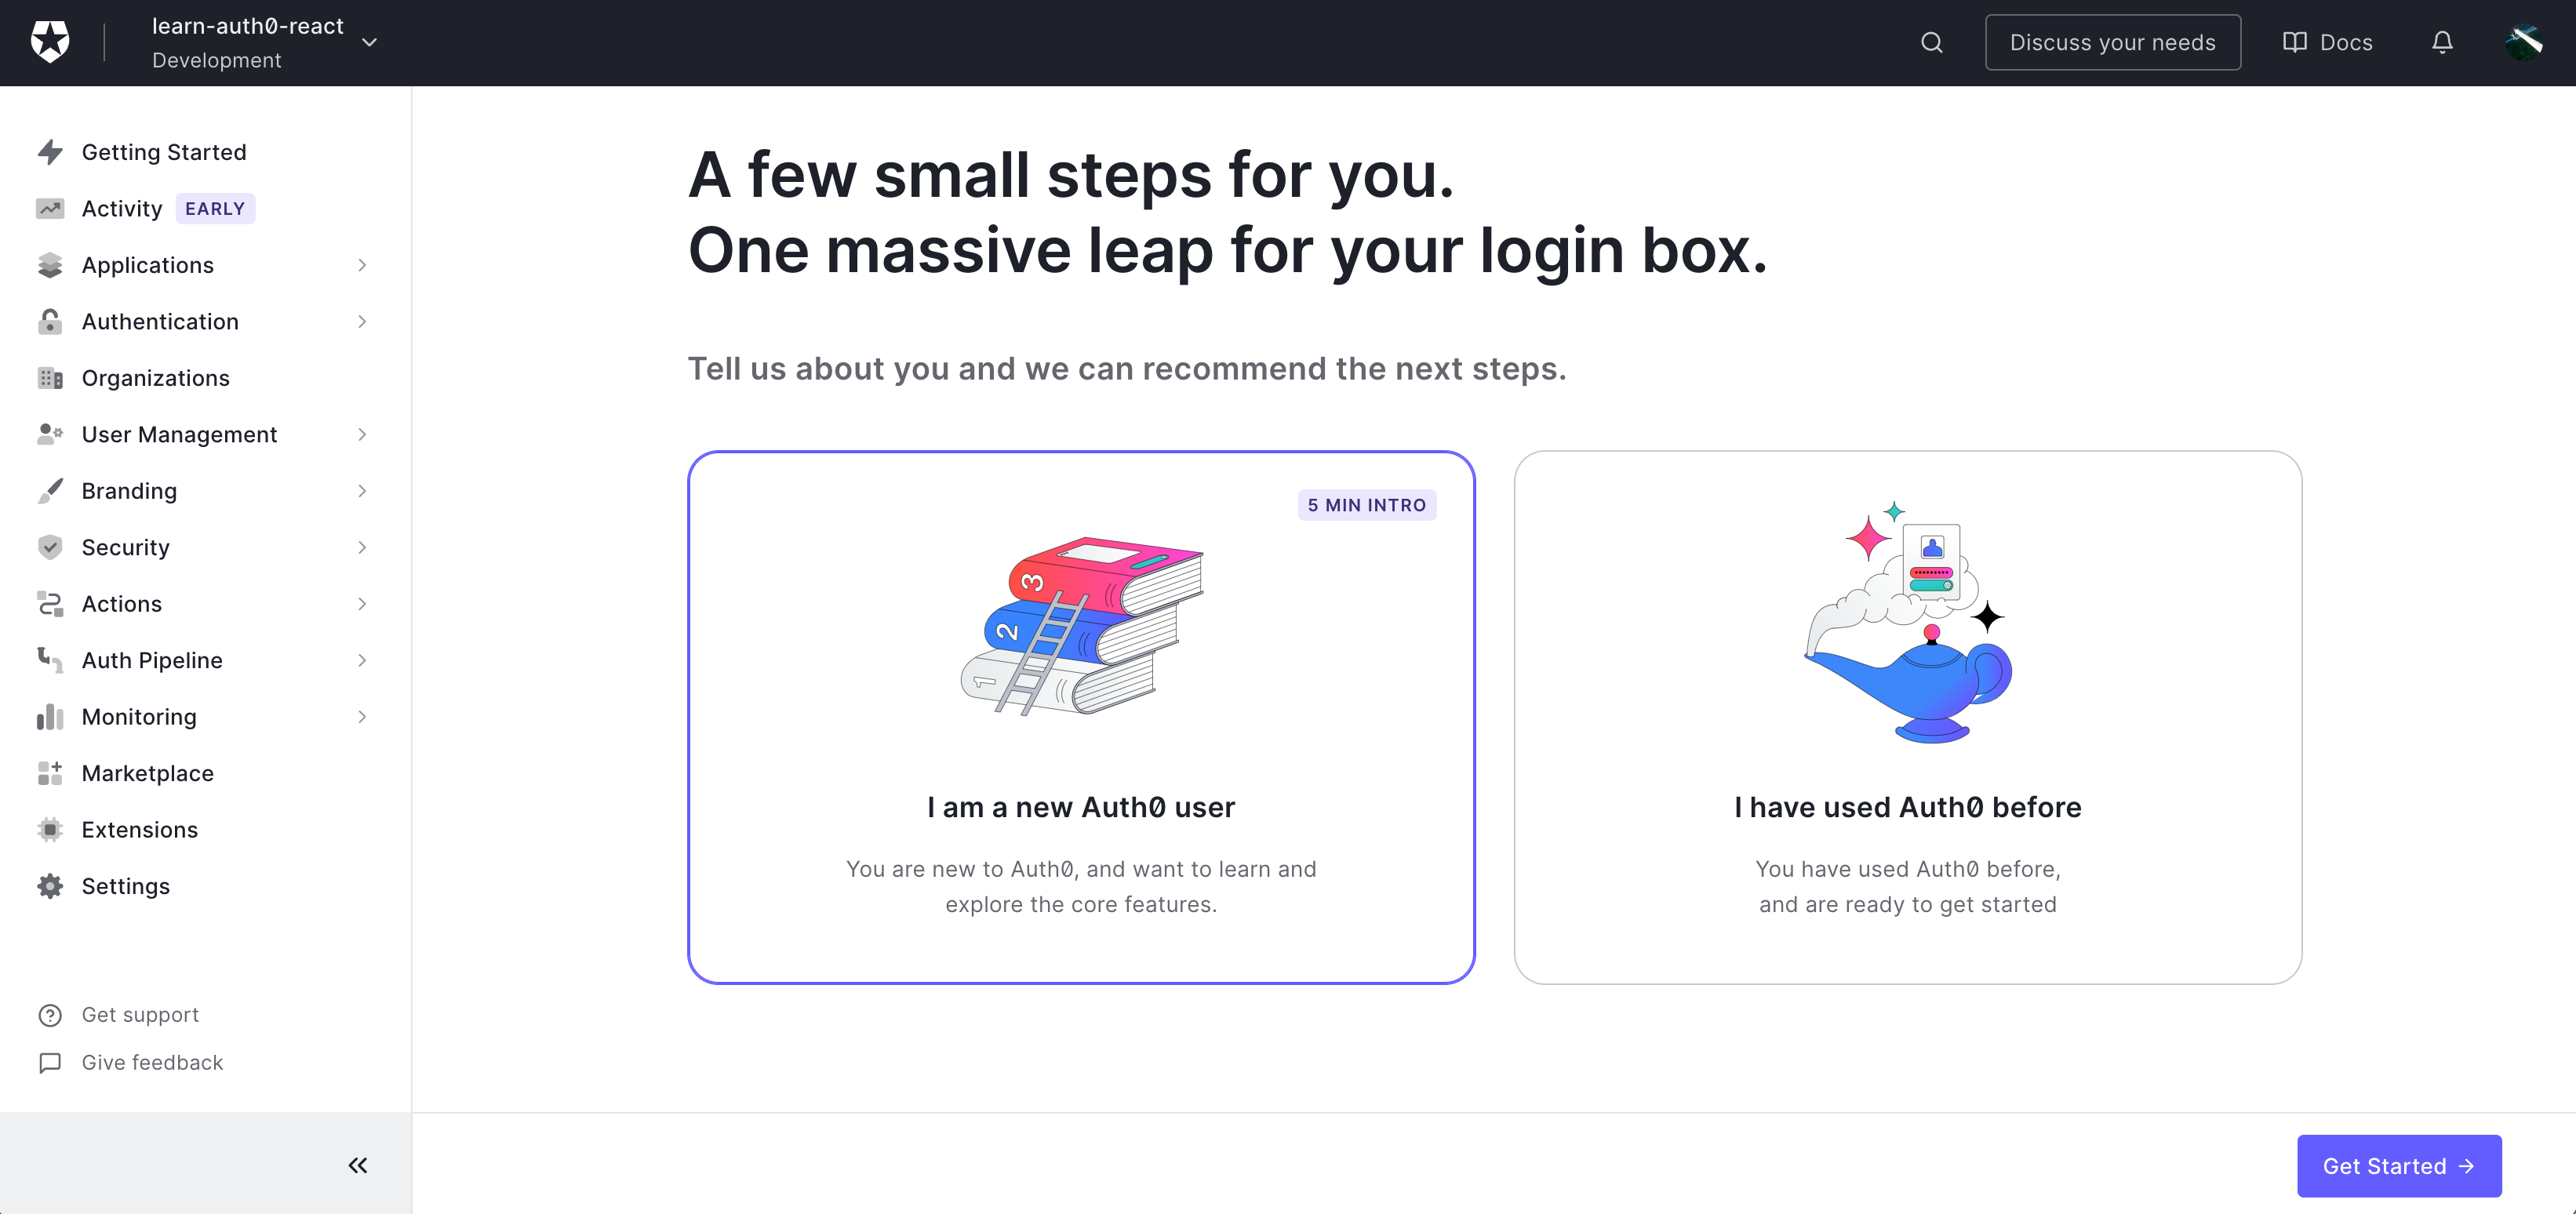
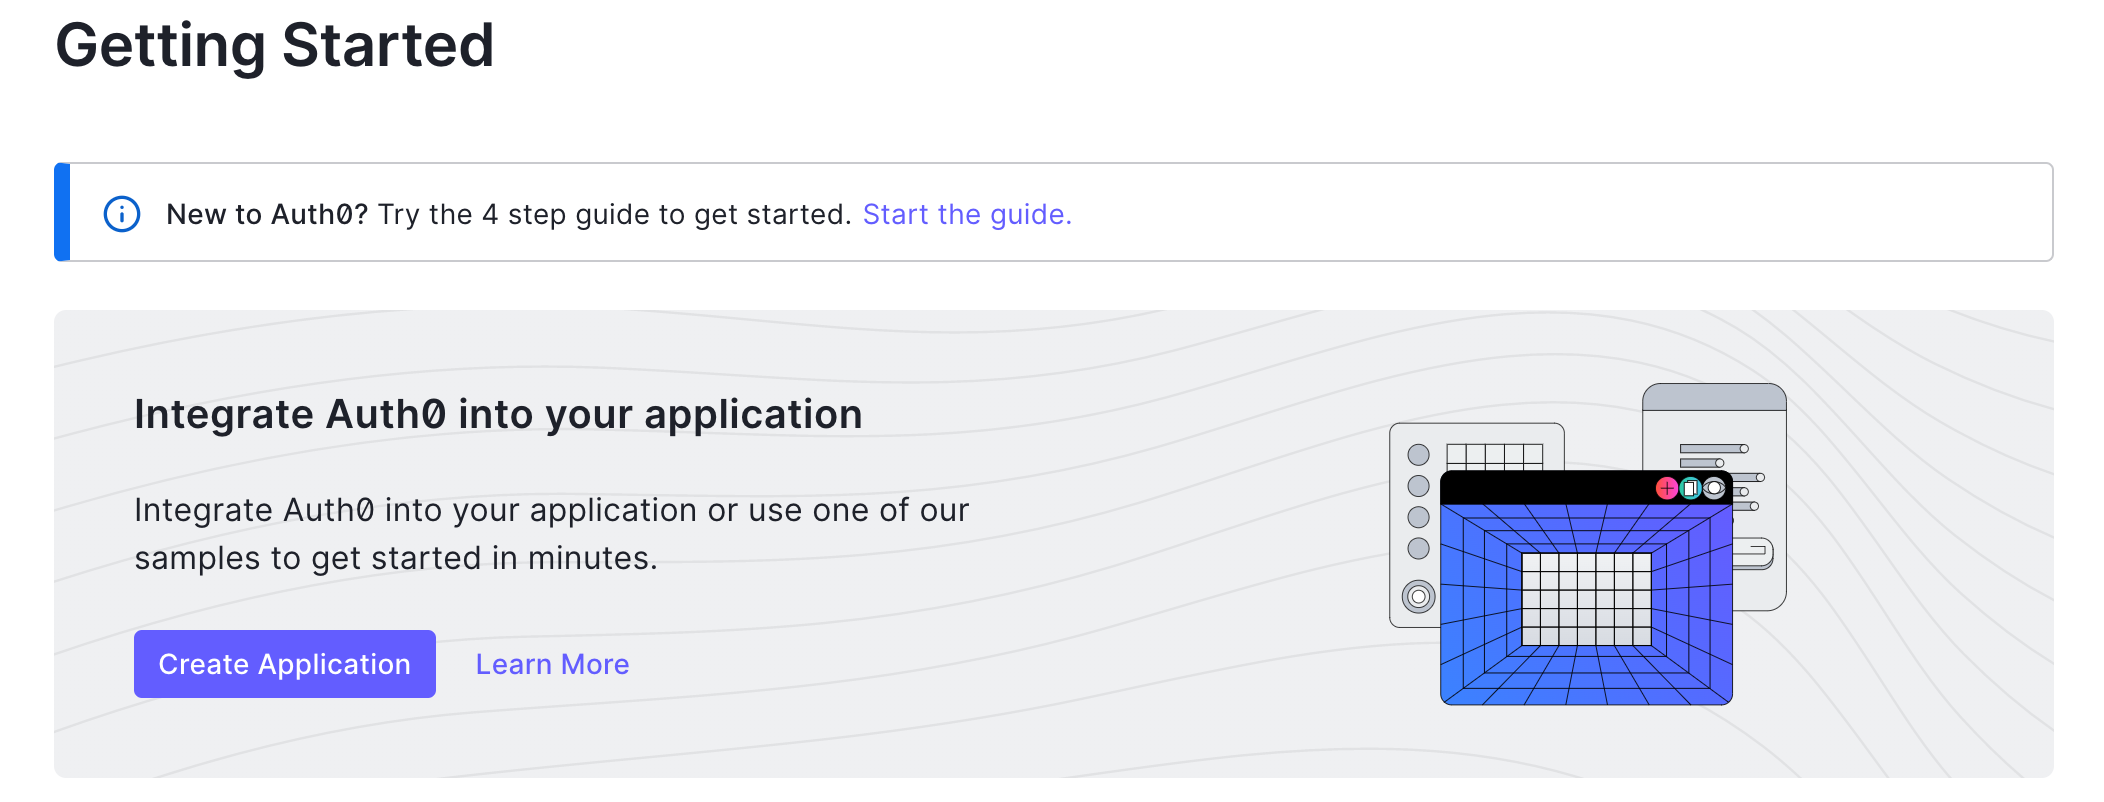
Then we will end up on this dashboard. We may say we are new users - which we are, if we are here - but we are rather gonna cover a normal flow. Select I have used Auth0 before and click on Get started
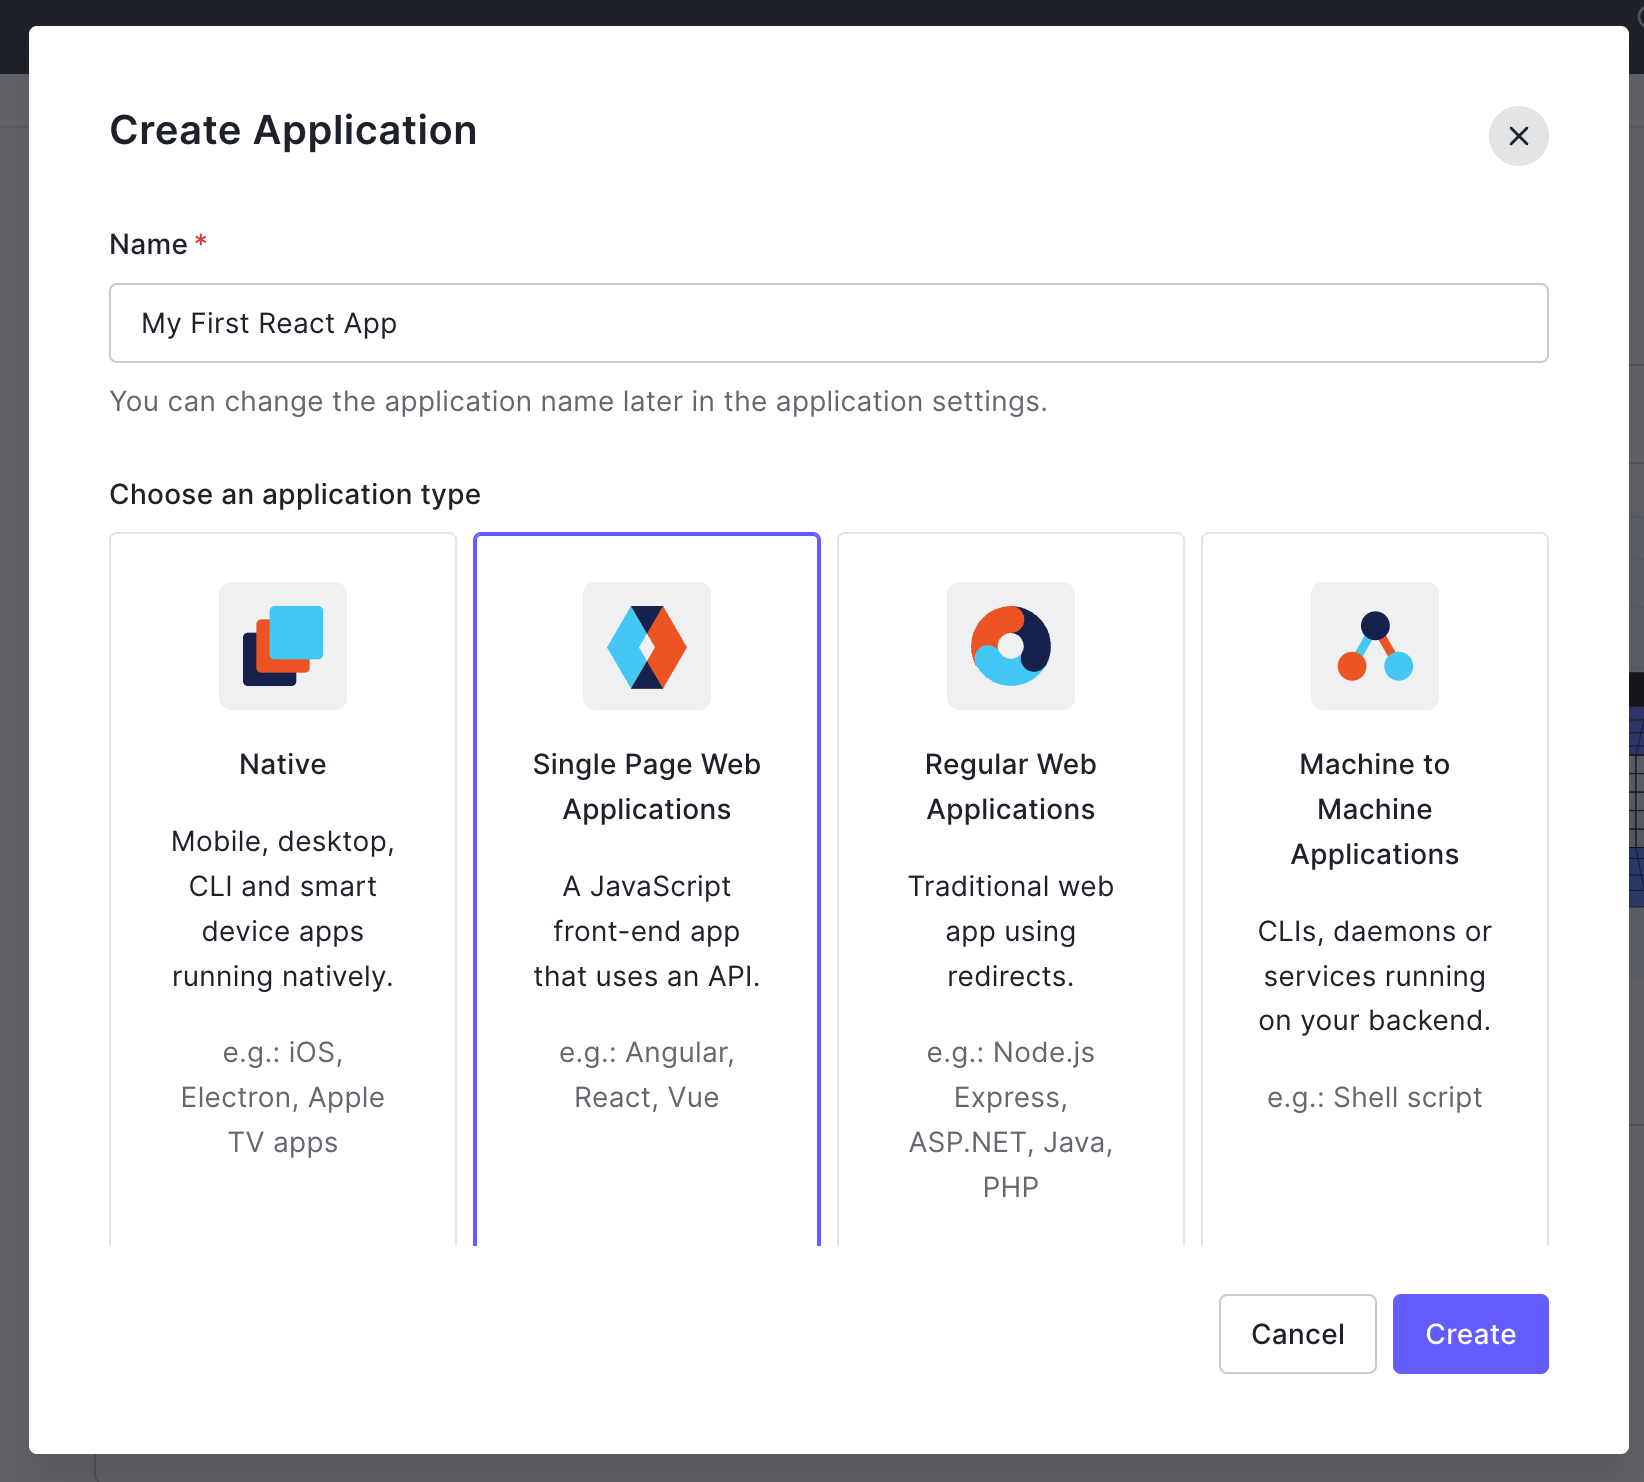
Find the box Getting started where we will click on Create Application
Then give your app a fancy name. This will be shown in your login prompt to the users, so it should probably reflect the name of your web page or project. Further select also Single Page Web Application
The landing page is quite self explanatory: it will help you understand what information you need, and what you need to do to setup your react application to work with Auth0. But hey: here we are to skip all this chit-chat and go to what we actually need!
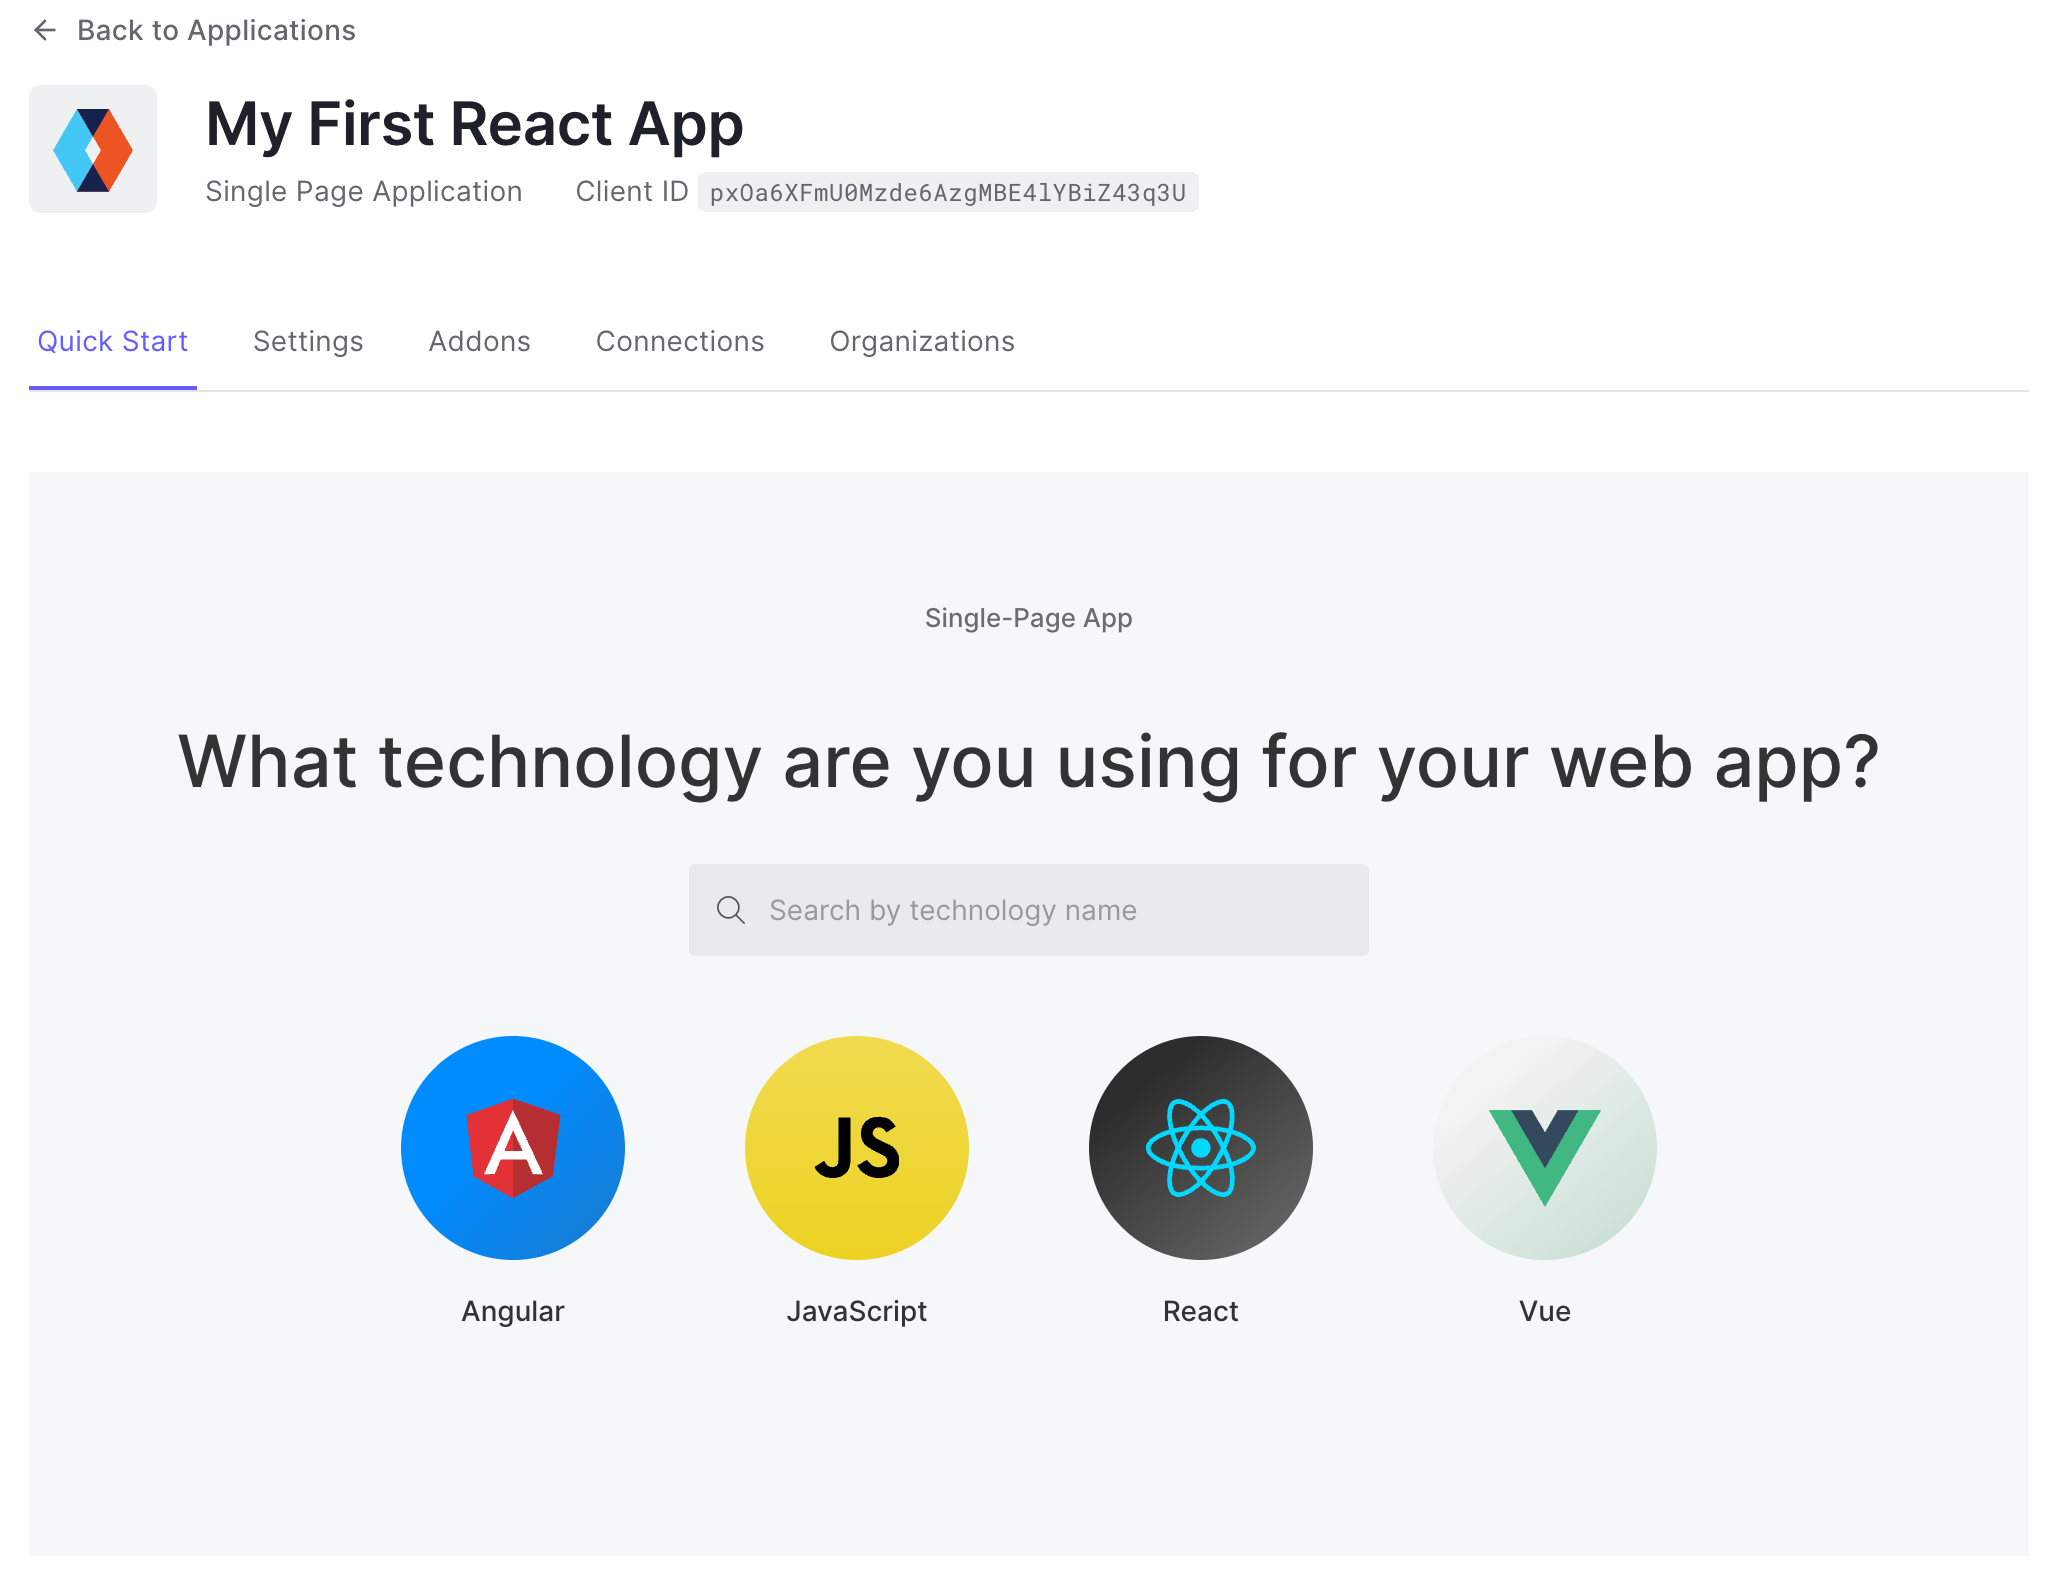
Let’s head to the Settings tab!
Here the most important part are:
- Callback URLs - the URLs where users will be redirected after login
- Logout URLs - the URLs where users will be redirected after logout
- Allowed Web Origins URLs - the URLs from which the Auth0 API will be called to perform Authentication
We are just testing locally at the moment, so we basically fill this in with http://localhost and the port you are serving your app on (most of the times this is 3000)
The easy part: adding Auth0 to our react application and authenticate users!
Installing the npm packages
Once we are done with this setup, we need to install the npm package @auth0/auth0-react. Execute the following command from the root directory of your project:
npm install @auth0/auth0-react
I am also using Material UI to speed up the design time, and that’s
npm install @mui/material @emotion/react @emotion/styled
You can read more about Material UI here
That’s it!
Adding to the react application the Auth0Provider component with react-router-dom
The docs on Auth0 do not really consider one very important thing: most react applications are using the react-router-dom library to handle routing in their SPA’s.
When using react-router-dom things get a bit more complicated.
I had quite a hard time trying to understand how to fit all this together, but here is what I did:
I first created the ProtectedRoute component:
import { withAuthenticationRequired } from "@auth0/auth0-react";

const ProtectedRoute = ({ component, ...args }) => {
  const Component = withAuthenticationRequired(component, args);
  return <Component />;
};

export default ProtectedRoute;
This component basically uses the HOC withAuthenticationRequired to wrap the component we want to use as routes in the router and check if user is authenticated to access it.
Then in the app component we use this and wrap everything in the Auth0Provider component.
import { Auth0Provider } from "@auth0/auth0-react";
import React from "react";
import { Route, Routes, useNavigate } from "react-router-dom";
import { Blog } from "./pages/blog";
import { Home } from "./pages/home";
import ProtectedRoute from "./components/protectedRoute";


function App() {

  const onRedirectCallback = (appState) => {
    const navigate = useNavigate();
    navigate(`${(appState && appState.returnTo) || window.location.pathname}`);
  };

  return (
    <Auth0Provider onRedirectCallback={onRedirectCallback}
    domain={ "[YOUR_APP_DOMAIN_FROM_THE_AUTH0_SETTINGS]"}
    clientId={ "[YOUR_APP_CLIENT_ID_FROM_THE_AUTH0_SETTINGS]"}
    authorizationParams={ {
      redirect_uri: "[CALLBACK_URL_WE_JUST_SET_ON_AUTH0]"
    }}>
      <Routes>
          <Route path="/" element={<Home />} />
          <Route path="/blog" element={<ProtectedRoute component={Blog} />} />
      </Routes>
    </Auth0Provider>
  );
}

export default App;
Finally everything is wrapped in the main as follow. Notice we are here wrapping the app in the BrowserRouterwhich is allowing us to use the Routes and the useNavigation hook in it
import React from "react";
import ReactDOM from "react-dom/client";
import { BrowserRouter } from "react-router-dom";
import App from "./App.js";
import reportWebVitals from "./reportWebVitals";

const root = ReactDOM.createRoot(document.getElementById("root"));
root.render(
  <React.StrictMode>
    <BrowserRouter>
      <App />
    </BrowserRouter>
  </React.StrictMode>
);

// If you want to start measuring performance in your app, pass a function
// to log results (for example: reportWebVitals(console.log))
// or send to an analytics endpoint. Learn more: https://bit.ly/CRA-vitals
reportWebVitals();
Of course we still need to provide the users with a login button, which is gonna look like this:
import { useAuth0 } from "@auth0/auth0-react";
import { Button } from "@mui/material";
import React from "react";


function LoginButton() {
  const { loginWithRedirect } = useAuth0();
  return (
    <Button
      variant="contained"
      disableElevation
      size="small"
      onClick={() => loginWithRedirect()}
    >
      Log In
    </Button>
  );
}

export default LoginButton;
Now place your LoginButton somewhere in the Home page so you can start your app and login. I assume you can do basic programming with React.js and write React components as simple as a title and a button to achieve this.
We should be able to start our application with npm start and show to the users a our Home page with a button and when we click it the login screen from Auth0 will appear and allow us to login or sign up.
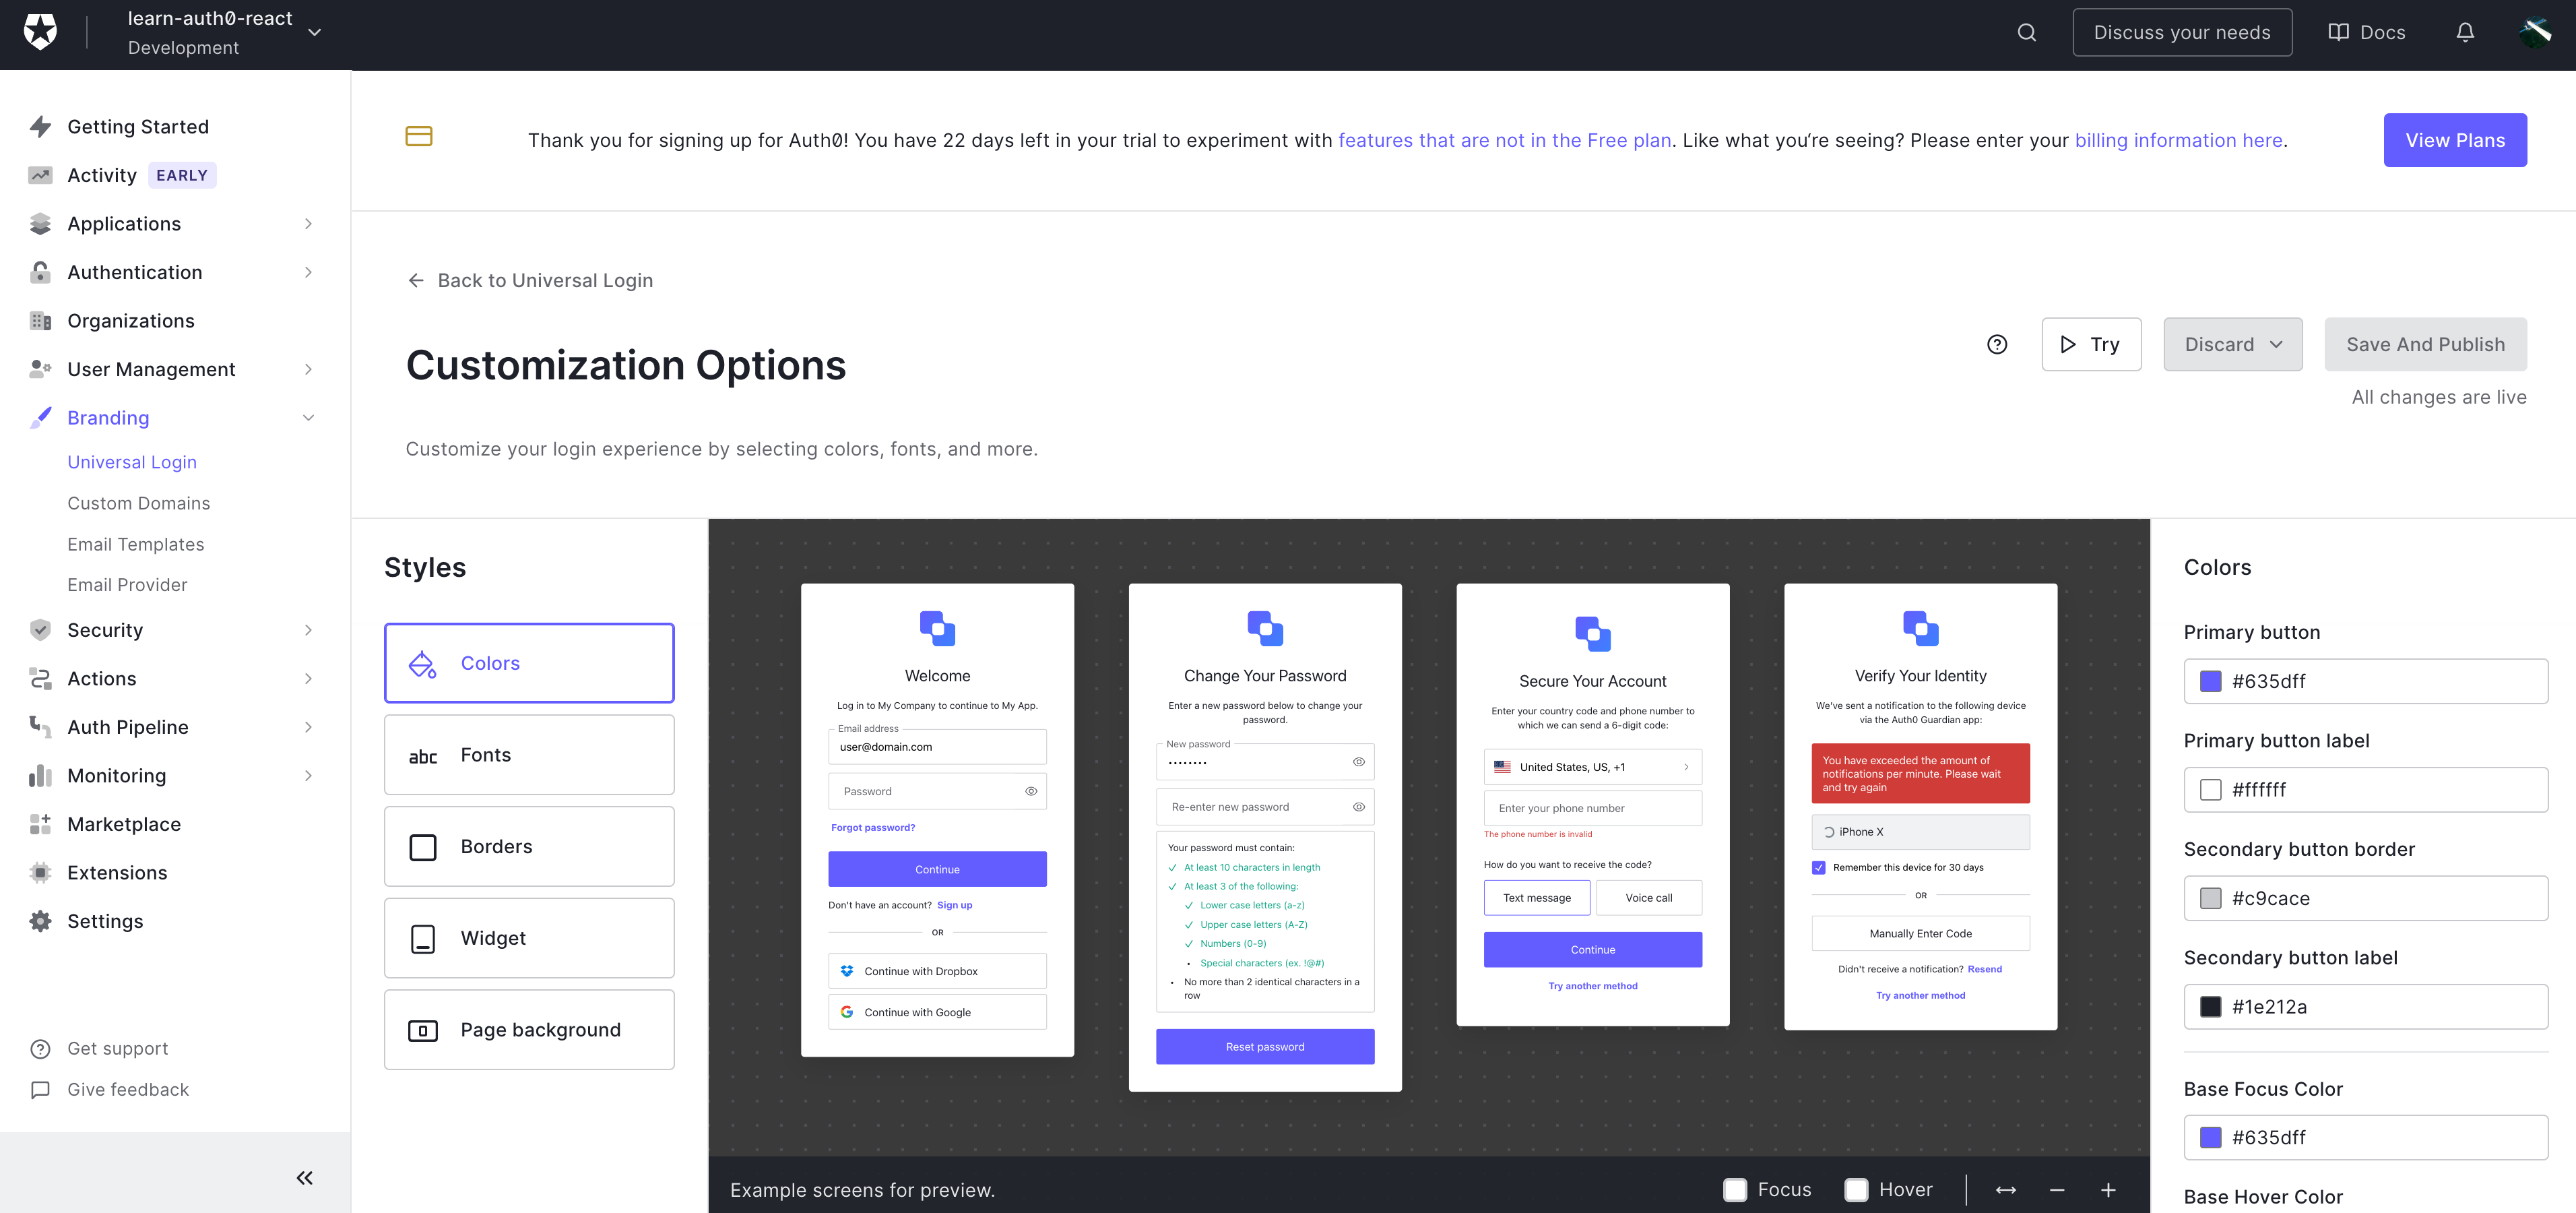
Extra
You can configure your login screen quite a bit on Auth0, already with the free account. This is under Branding > Universal login > Customization Options